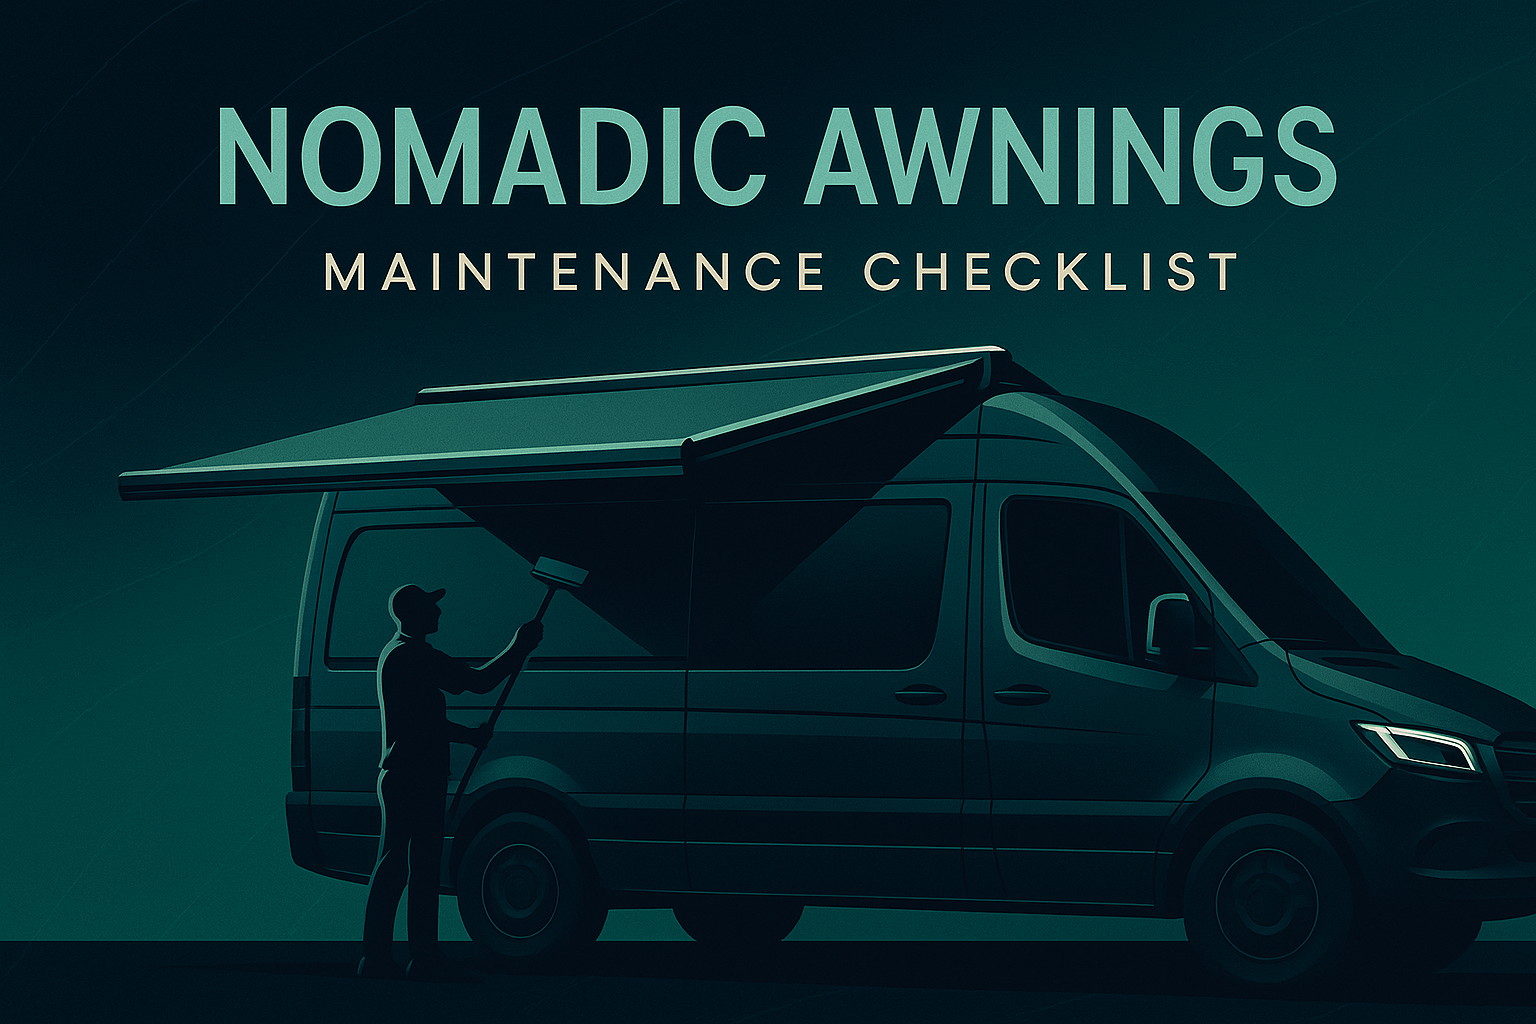
Nomadic Awnings:
The Ultimate Awning Maintenance Checklist
Protecting Your Awning, Protecting Your Adventure
Your Nomadic Awnings is more than just a piece of gear; it’s a crucial part of your off-grid experience. It provides shade, protection, and a comfortable outdoor living space. That’s why proactive maintenance isn’t just a good idea—it’s an investment in the safety, reliability, and longevity of your system.
This comprehensive quarterly checklist is designed to help you prevent common issues, mitigate wear and tear, and ensure your awning continues to perform flawlessly for years to come. By following these simple steps, you'll safeguard your investment and keep your adventures going strong. For your convenience, you can download a printable PDF of this checklist to have on hand.
Part I: Fabric & Functionality
This section covers the initial inspection, deep cleaning, and fabric care—the foundation of a pleasant and functional awning.
1. Initial Inspection & Functionality Test
Begin by fully extending and retracting your awning. This proactive step helps you catch potential issues before they become serious problems.
- Full Cycle: Watch and listen as your awning extends and retracts. Is the movement smooth? Are there any grinding sounds or resistance?
- Lighting: Test all integrated awning lights to confirm they are working correctly.
- Visual Check: Inspect the fabric for fading, tears, holes, or thinning spots. Check the arms, legs, and roller tube for bending, warping, or missing hardware.
2. Deep Cleaning & Stain Removal
Regular cleaning is the best way to extend your awning's lifespan and prevent the buildup of mold and mildew.
- Prep: Extend the awning fully on a clear, mild day.
- Cleaning: Use a low-pressure garden hose to spray off loose dirt. For deeper cleaning, use a soft-bristle brush with a mild soap or specialized awning cleaner. Avoid harsh chemicals and abrasive brushes.
- Mold/Mildew: Mix equal parts water and white vinegar for affected areas. Gently scrub and rinse thoroughly to prevent streaks and fabric degradation.
3. Proper Drying & Secure Storage
Improper drying can lead to mold, mildew, dry rot, and rust. Always ensure the fabric is completely dry before storage.
- Drying: Allow your awning to air dry completely. If it was wet from rain, allow several extra days to ensure all moisture is gone.
- Storage: When not in use, retract the awning fully to protect it from the elements. For travel, always use the safety locking mechanism.
Part II: Structural Integrity & Hardware
An awning is only as strong as its frame. Regular inspection of the mounting and support hardware is vital for safety and longevity.
1. Mounting Points & Frame Components
Check all the parts that keep your awning securely attached to your vehicle.
- Vehicle Connections: Check all bolts and brackets where the awning mounts to your RV or Van. Tighten any loose hardware and look for signs of rust.
- Bracketry & Arms: Inspect all brackets and support arms for bending, damage, or metal fatigue. Confirm the tightness of connections at the legs and fascia.
- Roller Tube: Look for warping on the roller tube and check the end caps for damage or missing rivets.
2. A1 Models Only: Support Rod Screws
If you have a Nomadic Awnings A1 model, make sure to check the set screws on the support rod bracket to ensure they are secure.
Part III: Pitch, Alignment & Weather Prep
Proper alignment is critical for water runoff and protecting your awning from the elements. This prevents fabric wear, sagging, and potential damage.
1. Ensuring Proper Drainage
A well-pitched awning won't pool water, which can lead to significant issues.
- Level & Pitch: Ensure the awning is level and pitched correctly to allow for efficient rain runoff. Correct any misalignment immediately.
- Retraction: When putting the awning away, ensure both arms are at the same level to prevent misalignment.
2. Protecting Against Inclement Weather
Awnings are built for sun and light rain, not heavy storms.
- Wind: Always retract your awning in strong winds. Consider tie-downs for added security in gusty conditions.
- Rain & Snow: In rain, position one side lower than the other for runoff. Promptly remove any snow and monitor for ice buildup.
Part IV: Lubrication & Smooth Operation
Regular lubrication of moving parts prevents stiffness, malfunctions, and premature wear, ensuring your awning extends and retracts smoothly every time.
1. Targeted Lubrication
Apply a dry, silicone-based lubricant to these key areas:
- Clevis Pins & Arms: Use a dry silicone spray to prevent rust and ensure smooth operation.
- Sliding Tracks: Lubricate the tracks and extension arms to prevent sticking.
- Frequency: Lubricate annually or whenever you hear creaking or notice stiffness.
Part V: Proactive Strategies & Professional Help
Beyond routine checks, these practices will significantly contribute to your awning’s long-term health and performance.
1. Immediate Action & Documentation
- Resolve Issues: Address any identified issues, no matter how small, immediately. A small tear can quickly become a large rip.
- Log Your Maintenance: Keep a detailed log of all repairs and maintenance for warranty purposes and future reference.
2. Genuine Parts & Professional Consultation
- Approved Parts: Always use Nomadic Awnings' approved parts to ensure compatibility and to maintain your warranty.
- When to Call: While this guide covers most routine tasks, some issues require a professional. Contact us or a certified technician for electrical issues, structural damage, large tears, or automation system malfunctions.
Conclusion: Confidence in Your Cover
Taking a few moments each quarter to care for your awning system can make all the difference. It ensures that your shelter is always ready when you need it, and that your outdoor living space remains safe and enjoyable.
We build our awnings to perform, and with a little care, you can ensure they continue to deliver on that promise for every adventure.
Nomadic Awnings
We Have You Covered


Share:
Nomadic X2 vs Dometic, Indel B & Velit: Verified A/C Performance for Off-Grid Builds
Nomadic Cooling: An Honest Review of Our Customer Support