


While we test all units before they leave the warehouse, we recommend all customers test the unit before installation.
Below are all the included parts with your Nomadic Cooling AC Unit. We highly recommend verifying all parts are there prior to installation.

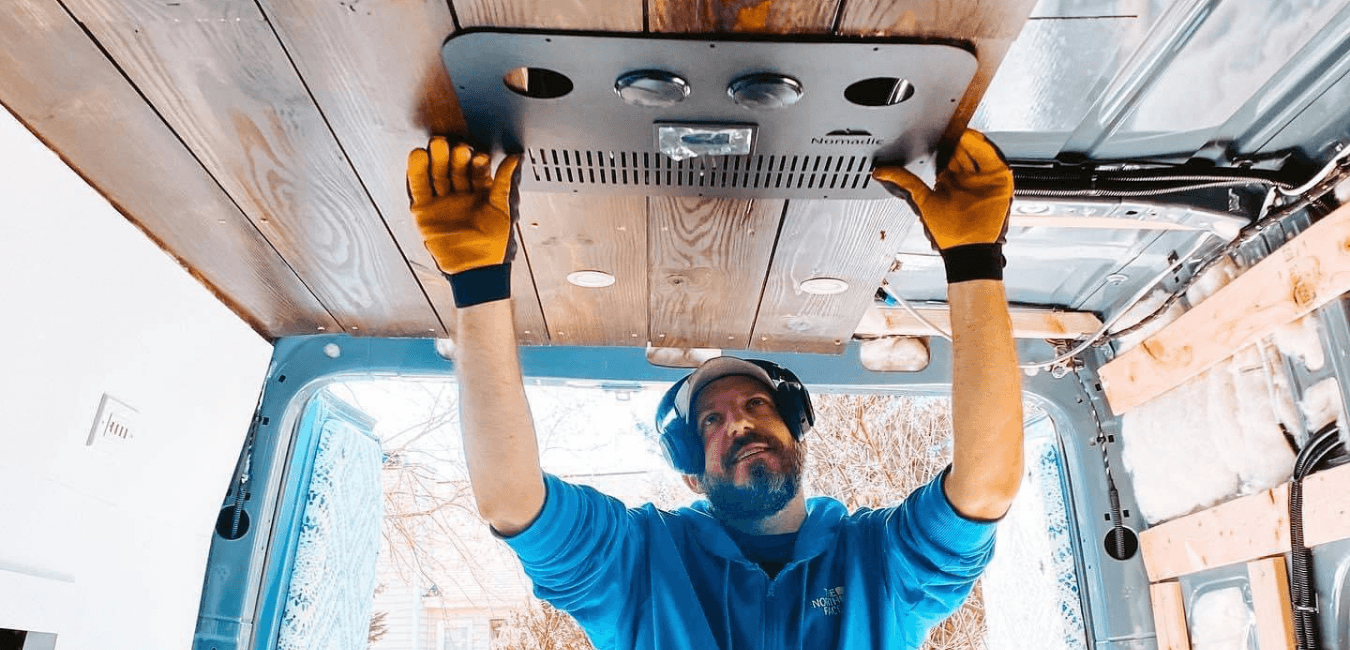
Installation time is 2-4 hours

It's not mandatory but it's a good idea to mark your 14"x14" rooftop opening from inside your vehicle to make sure there is no electrical or other encumbrances in the way.

Make sure the planned opening is centered from all four sides. This gives the best chance for easy installation.
Tip: Use a Sharpie.
Tip: Use painters tape under the Sharpie.
Tip: Measure repeatedly to make sure design is 14"x14" square.
Tip: Measure repeatedly to make sure design is 14"x14" square.

Drill each corner of your markings from inside your rig through the roof upwards. This will make it easy to mark your 14"x14" opening from the underside of your roof to the outside of your roof.
1/8 inch drill

Connect the dots that you just drilled in your roof to make a perfect 14"x14" opening. Cut on the line.
Tip: Make your mark on painters tape. If you make a mistake replace tape, and try again.
Tip: Measure repeatedly to make sure design is 14"x14" square.

Tip: Use a file to smooth out the rough edges after cutting the 14"x14" opening.
Rough edges are not recommended for a waterproof seal.

Tip: Paint the newly cut roof to prevent rust.
Remove tape and clean surface.
*Bright orange used to be clearly visible in photographs.

Remove Nomadic Cooling 3m 14"x14" waterproof gasket from packaging.

Tip: make sure area/paint is clean and clear of all debris.
Tip: Place gasket sticky side down.

Add 14"x14" waterproof gasket to (optional mounting plate)
If placing gasket over "high" or "uneven" roof surfaces remove small amounts of the 14"x14" gasket to match roof contours.
Add RV Sealant around 14"x14" gasket

Add RV Sealant around 14"x14" gasket

Remove double sided tape from foam gasket.

Place unit on roof over 14"x14" gasket. Center unit over roof measuring side to side until unit is centered on all four sides.
Caution: Do not puncture/rip/tear gasket with air conditioners mounting bolts.
Caution: Do not harm electrical components when placing unit.

From inside the vehicle add support brackets to mounting bolts to attach unit to the roof.

Tighten Bolts x 4
Do not over-tighten mounting nuts. Bolts will rotate if over torqued.
Overtightening ***WILL BREAK BOLT FROM BASE PAN**

Tip: Keep an eye on the foam gasket. Over-tightening will reduce effectiveness of the waterproofing seal.
Tip: Use bracket tension to compress foam gasket to create the desired surface level on roof exterior.

When securing unit to the vehicle increased compression of the gasket will level the unit against the roof.
Tip: Use gasket tension to control ac units distance from roof surface.
A/C should be resting on gasket not vehicle.

Tip: Over compression of the unit to the roof may cause the fan to rub against the fan housing. Make sure the fan blades rotates freely prior to starting the unit.

Connect DC power wires to unit. Quick Connection to DC wiring harness included.
Tip: Make sure wiring is appropriately sized.
Tip: Make sure fuse is installed and appropriately sized.
A fuse/breaker is mandatory between your power source and the air conditioning unit.

Attach control panel wiring harness.

Attach thermostat wires to control panel wiring harness.
Tip: White wire is always to the left of the black wire. Be careful not to break these wires.

CORRECT WAY TO SEPARATE HOT AIR FROM COLD AIR AS IT EXITS YOUR NEW A/C UNIT.
Test all connections between the power source and the unit for excessive heat during normal operations.
Rooftop Unit Installation Completed